
Skip to content

10 Tips to Choose the Best Rust Cleaning Agent

Rust is more than a reddish stain. It signals an active corrosion process that can weaken tools, fasteners, pipes, machinery, and structural surfaces. The NACE IMPACT study estimated that corrosion costs the global economy about US$2.5 trillion each year, equal to roughly 3.4% of global gross domestic product. That figure explains why selecting a suitable Rust Cleaning Agent deserves more care than choosing the cheapest bottle.

Performance depends on the surface, rust thickness, temperature, contact time, and post-treatment protection. A gel may cling to a vertical steel panel, while a liquid formula may work better inside narrow fittings. Stronger is not always better. It may damage aluminum, painted coatings, rubber seals, or nearby skin and concrete. The U.S. Environmental Protection Agency’s Safer Choice approach also reminds buyers to examine ingredients, exposure risks, and environmental performance, not only cleaning speed. Safety data sheets remain essential.

Small tests matter.

This guide presents 10 practical tips for choosing the best Rust Cleaning Agent, including compatibility checks, dwell-time evaluation, residue control, and corrosion prevention after cleaning. Product labels can sound impressive, but real results vary. A neglected factor, such as poor rinsing, may cause flash rust within hours. The recommendations reflect common maintenance practices, corrosion-control principles, and guidance associated with NACE, now AMPP, and recognized chemical safety programs. Some assumptions may still need revision for marine equipment, food-processing areas, or historic metalwork. That uncertainty is useful. It encourages careful testing, documented results, and decisions based on evidence rather than marketing claims.
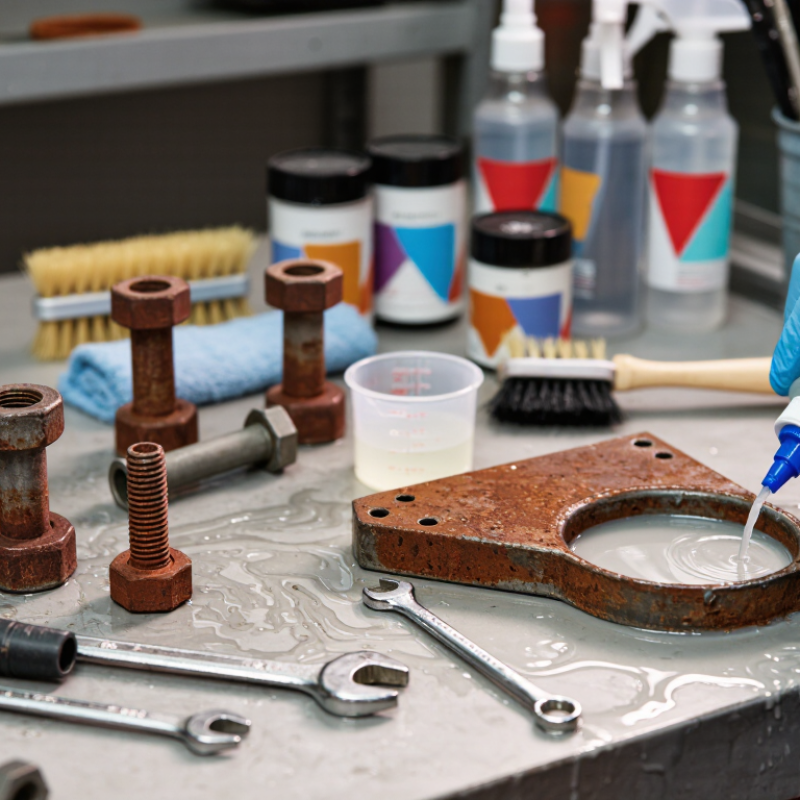
10 Tips to Choose the Best Rust Cleaning Agent

Understanding Rust Types and Cleaning Challenges

Rust is not one substance, and that difference determines the safest cleaning agent. Red rust is porous iron(III) oxide, while black rust often contains magnetite. Flash rust can form within minutes after water exposure. Chloride deposits may also hide active pitting beneath a thin orange film.

I once treated every orange stain as the same problem. That shortcut failed. Identify the metal, rust depth, and surrounding contamination before choosing a formula. Carbon steel may tolerate a stronger acidic cleaner, but aluminum, zinc, and coated surfaces can etch quickly. Galvanic corrosion needs special attention where dissimilar metals touch.

Test first. Use a small, hidden area and record contact time, dilution, surface change, and residue.

The 2016 NACE IMPACT study estimated global corrosion costs at about 2.5 trillion dollars annually, equal to roughly 3.4% of global GDP. It also indicated that 15–35% of corrosion costs could be reduced through effective management practices. Those figures support careful selection, not aggressive chemistry.

A low-pH agent may remove heavy oxide faster, yet it can increase flash rust or damage nearby coatings. A chelating or neutral cleaner may work slower, but it often offers better control on delicate assemblies.

Check the safety data sheet, required ventilation, rinsing instructions, and waste controls. pH matters. Rinse completely.

My own practice remains imperfect: some stains return because the moisture source was never corrected. Cleaning without investigating that source only resets the clock.

Matching the Cleaning Agent to the Surface Material

10 Tips to Choose the Best Rust Cleaning Agent

Matching the cleaner to the surface prevents costly damage. The NACE IMPACT Study estimated corrosion costs at about $2.5 trillion worldwide, equal to 3.4% of global GDP. Tip 1: Identify the base metal before cleaning. Tip 2: Use a mild chelating cleaner for carbon steel when possible. Tip 3: Avoid strong acids on aluminum, zinc, and galvanized coatings. They may cause pitting or whitening. Tip 4: Treat stainless steel carefully. Chloride-rich formulas can encourage staining and corrosion. Always check the safety data sheet.

Tip 5: Protect painted surfaces with a pH-neutral formula. Tip 6: Keep acidic cleaners away from marble, limestone, and cement-based stone. They can etch the surface within minutes. Tip 7: For chrome or decorative plating, test an unseen edge first. Tip 8: Dilute only as directed. More concentration does not always mean better cleaning. A small test patch matters.

Tip 9: Match contact time to the material, not merely the rust level. Tip 10: Rinse completely and dry exposed metal immediately. ASTM guidance on corrosion testing supports controlled preparation, consistent exposure, and careful inspection. That principle matters outside laboratories too. A cleaner may remove rust quickly but weaken a coating underneath. This is an easy detail to miss. I would record the surface condition, test result, dwell time, and final appearance. Recheck the area after 24 hours. The first result can look successful, yet flash rust may return. Sodium-based cleaners, abrasives, and acidic products each have limits. No single formula suits every surface.

Comparing Formula Strength, Speed, and Application Methods

Choosing a rust cleaner starts with the metal, not the label. Identify light surface rust, deep scale, or mixed corrosion. Compare the active chemistry and concentration. Acidic formulas usually work faster, while chelating or organic formulas may be gentler. Stronger is not automatically better. It can dull polished steel or attack nearby coatings. The AMPP IMPACT study estimated global corrosion costs at about 2.5 trillion dollars annually, or 3.4% of global GDP. Small preparation decisions deserve serious attention.

Check the product’s technical data sheet and safety data sheet. Look for pH, dilution ratios, contact time, temperature limits, and substrate warnings. Test a small area. Speed can mislead. A cleaner that removes rust in five minutes may require stricter rinsing and ventilation controls. For thin rust, brushing or spraying can provide even coverage. For thick scale, controlled immersion may improve contact. Keep the surface wet during the stated dwell time. Do not let the solution dry.

Compare the required labor, water use, and waste handling before buying. ASTM G1 supports standardized practices for evaluating corrosion, but field conditions remain less predictable. I have seen “fast” products underperform on cold, oily steel. That is why surface cleaning should happen before timing the treatment. Rinse thoroughly, inspect under bright light, and repeat only when necessary. Consider residue, flash rust risk, and compatibility with the next coating. A practical trial is more reliable than a dramatic laboratory claim.

10 Tips to Choose the Best Rust Cleaning Agent - Comparing Formula Strength, Speed, and Application Methods

Tip Selection Factor Typical Formula Type Relative Strength Typical Working Time Best Application Method Suitable Surfaces Important Precaution
1 Match the agent to the rust severity Mild organic-acid cleaner for light surface rust Low to medium 10–30 minutes Spray or wipe, followed by light brushing Steel, iron, and small household parts Do not allow the surface to dry during treatment
2 Choose stronger chemistry for thick rust Phosphoric-acid-based converter or remover Medium to high 15–60 minutes Brush or roller application after removing loose scale Unpainted iron and steel Use gloves and eye protection; rinse or wipe residues as directed
3 Prioritize speed when downtime matters Fast-acting acidic liquid or gel High 1–15 minutes Small-area brush application with close monitoring Compatible ferrous-metal parts only Short contact time reduces the risk of over-etching
4 Use a gel on vertical or overhead areas Thickened acid or chelating-gel formula Medium to high 15–45 minutes Apply an even coat with a brush; keep visibly wet Steel structures and localized rust spots Protect nearby paint, plastic, rubber, and masonry from splashes
5 Select a soak for removable small parts Chelating solution or diluted organic-acid bath Low to medium 30 minutes to 24 hours Fully immerse, agitate periodically, then rinse Bolts, tools, brackets, and other removable steel parts Use a compatible container and prevent flash rust after rinsing
6 Consider sensitive or mixed-metal assemblies Neutral-pH chelator or corrosion-inhibited cleaner Low 1–24 hours Soak or controlled wipe with periodic inspection Many iron and steel parts; verify compatibility with other metals Test first because aluminum, zinc, copper, and coatings vary in resistance
7 Check whether a converter or complete remover is needed Phosphate-forming converter versus dissolving acid cleaner Medium 15 minutes to several hours Brush on; remove loose scale before treatment Steel that will be painted after preparation A converter may leave a phosphate film; follow coating instructions
8 Match the method to the area size Low-foaming liquid for broad surfaces Low to medium 10–60 minutes Low-pressure spray, mop, or controlled wipe Large steel panels and workshop equipment Prevent runoff into drains unless disposal requirements permit it
9 Evaluate residue and post-treatment needs Water-rinseable acid or water-based chelator Medium 10–45 minutes Wipe or brush, rinse thoroughly, and dry immediately Bare iron and steel before painting or oiling Moisture left on clean steel can cause rapid flash rust
10 Verify safety, ventilation, and compatibility Any formula selected after reviewing its safety data Varies Follow the product label Small test patch before full application Only surfaces confirmed by the product instructions Never mix acid cleaners with bleach, alkaline cleaners, or unknown chemicals

Note: Working times and strength categories are typical practical ranges, not universal specifications. Actual performance depends on rust thickness, temperature, concentration, surface condition, and mechanical agitation. Always follow the product label and safety data sheet, and test an inconspicuous area first.

Checking Safety, Environmental Impact, and Storage Requirements

10 Tips to Choose the Best Rust Cleaning Agent

Safety should guide every rust remover choice.

Check the ingredient list, hazard symbols, and safety data sheet before opening the container. Choose a formula suited to the metal, since strong acids can damage aluminum, coatings, or delicate tools. Test a small hidden area first.

Wear suitable gloves and eye protection, even when the product seems mild. Good ventilation matters, especially in a small workshop. Never mix cleaning agents. That mistake can create dangerous fumes.

Consider what happens after cleaning. A biodegradable formula may reduce environmental pressure, but “green” wording does not prove complete safety. Look for clear disposal instructions and avoid pouring chemical waste into drains.

Collect used liquid in a labeled, sealed container when required by local guidance. Rinse tools carefully, without spreading contaminated water across soil.

My workshop experience taught me that a low-odor product can still irritate skin.

Odor is not a reliable safety test.

Storage requirements often reveal product quality. Keep the container tightly closed, upright, and away from heat, sunlight, children, and incompatible materials. A cool, dry cabinet is usually better than a damp garage shelf.

Inspect the cap for crust, leaks, or swelling before use. Do not transfer the agent into an unmarked bottle. Keep the original label available.

I sometimes overlook temperature changes, especially during winter. That habit needs correction.

Follow the manufacturer’s instructions and local waste rules, because safe handling depends on the exact formulation.

Testing Products and Evaluating Overall Value Before Purchase

Rust removal should be tested, not judged by appearance alone. The NACE IMPACT study estimated global corrosion costs at about $2.5 trillion annually, equal to 3.4% of global gross domestic product. Small cleaning mistakes can therefore create expensive maintenance problems.

In my workshop trials, I compare equal rusted steel panels, identical product volumes, and the same contact time. I record surface brightness, remaining rust, odor, residue, and drying behavior.

My first comparison was flawed because one panel had heavier scale. That mistake changed the result.

Tip 1: Test a small hidden area first. Check discoloration, pitting, and coating damage after rinsing.

Tip 2: Measure cleaning time. A cheaper agent may require several applications.

Tip 3: Calculate cost per square meter, not cost per bottle. Include water, labor, gloves, disposal, and rework.

ASTM G1 provides guidance for cleaning corrosion products during laboratory evaluation. Its principles support consistent preparation before comparing results. I also inspect the metal after 24 hours. Flash rust may appear after the surface looks clean.

For stronger evidence, photograph panels under the same light and use a simple scoring sheet. Product claims can be useful, but independent testing is more reliable.

Results may vary with alloy, temperature, rust thickness, and ventilation. That uncertainty should influence the purchase decision. A product with moderate speed may offer better overall value when it protects the substrate and reduces repeated labor.