7 Tips for Choosing an Outdoor DIP LED Display
Choosing a DIP LED display outdoor system is a practical decision, not just a brightness contest. The right screen must stay readable under direct sun, handle rain and temperature changes, and fit the viewing distance. A busy roadside sign needs different pixel pitch from a stadium screen viewed across a field. Small details matter.
For this guide, illustrative industry specialist Alex Chen offers this principle: “Choose for the site first; the specification sheet comes second.” This is an original illustrative quotation, not a sourced statement. It points to the questions buyers should ask: What brightness is suitable? What weather protection rating is documented? Can technicians replace a module without dismantling the whole cabinet? Check manufacturer test data, warranty terms, and service access. Don’t assume every outdoor-rated display performs equally.
The seven tips ahead examine pixel pitch, brightness, protection ratings, cabinet design, power use, maintenance, and supplier support. Look closely at the installation plan, too. Cable routes, steelwork, and access equipment can affect cost and upkeep. A screen may look excellent in a showroom and still disappoint under afternoon glare. Specifications help, but site conditions decide. That distinction is easy to miss. A careful comparison can prevent expensive compromises, though no checklist replaces a qualified site assessment.
Define Your Display’s Purpose, Location, and Viewing Distance
Before comparing DIP LED specifications, decide what the screen must do. A roadside display needs fast, legible messages; a sports venue may need wide-angle visibility and motion clarity. In the United States, out-of-home advertising revenue reached $9.1 billion in 2023, according to the Outdoor Advertising Association of America’s 2023 revenue report. That figure reflects the medium’s scale, but your content still determines the screen size and brightness.
Location changes the engineering brief. Note direct-sun hours, nearby trees, vehicle speed, and the distance from the nearest safe viewing point. Check local temperature, rainfall, and freeze-thaw patterns against NOAA’s 1991–2020 U.S. Climate Normals. Then confirm enclosure protection and maintenance access with the installer. Small site details matter.
Viewing distance should guide pixel pitch and character size. AVIXA’s Display Image Size for 2D Content in Audiovisual Systems standard treats image dimensions and viewing distance as connected design choices. A viewer across a parking lot may tolerate a coarser pitch than someone standing near an entrance. Walk the site at real viewing points. A drawing can mislead. If people must read a price or arrival time quickly, test that text at full scale before ordering. I would not rely on a single “ideal distance” number; sightlines and content vary.
Compare DIP LED Technology with Your Performance Requirements
Choosing an outdoor DIP LED display starts with the viewing conditions, not the brightest number on a sales sheet. Measure ambient light at the actual installation point, then test sample content at the expected viewing distance. DIP packages can deliver strong direct-sun visibility, but their pixel pitch may look coarse when viewers stand close. Walk the site. Check text, faces, and moving footage.
Compare power, heat, and brightness together. The U.S. Department of Energy’s 2022 Solid-State Lighting R&D Opportunities report identifies efficacy and thermal management as continuing LED-system priorities. For a display, that means checking power draw and cabinet temperature during sustained high-brightness operation, not just at startup. A practical test is to run bright content through a hot afternoon and inspect for dimming or uneven color. One mistake is chasing maximum brightness; it can waste power and make evening viewing uncomfortable.
Weather protection needs equally careful comparison. IEC 60529 defines IP6X as dust-tight and IPX5 as protection against water jets, so an IP65 rating does not mean a cabinet can be submerged. Ask how connectors, seams, and service panels are protected. I would also compare viewing angle, refresh behavior, and spare-module access. The spec sheet rarely shows the whole story. A short on-site trial may reveal glare or service issues the lab test missed.
Check Brightness, Weather Resistance, and Operating Conditions
An outdoor DIP LED display needs enough brightness to stay legible in direct sunlight, but maximum output is not always the right choice. Compare the display’s brightness specification with the light at the installation site, especially around midday. At a roadside location, for example, glare and viewing distance can matter as much as the number on a product sheet. Check the intended viewing distance and test sample content from that position. Small text may disappear even when the screen looks bright up close. More brightness can also mean more power use and heat. Brighter is not always better.
Weather resistance depends on the full installation, not just the display cabinet. Confirm that the enclosure’s protection rating suits expected rain and dust, then inspect seals, cable entries, and drainage details. Wind, humidity, and direct sun can also affect operation. Check the specified temperature range and ask how the unit manages heat during long, hot afternoons. Leave adequate ventilation and plan access for cleaning or inspection. A specification sheet cannot predict every site condition; that uncertainty deserves attention. Review the operating limits, and verify them against the actual location before installation.
Evaluate Pixel Pitch, Viewing Angle, and Installation Needs
Pixel pitch should match the farthest and nearest viewing positions, not just the screen size. A useful starting estimate is one millimeter of pitch per meter of viewing distance, but treat it as a rough rule. A 6 mm pitch may suit a screen viewed from about six meters; closer viewers may notice individual pixels. Check the actual site from seated and standing eye levels. Then review the display’s brightness and color consistency off-axis. A wide advertised viewing angle is not enough if faces or text wash out from the side. Measure at eye level.
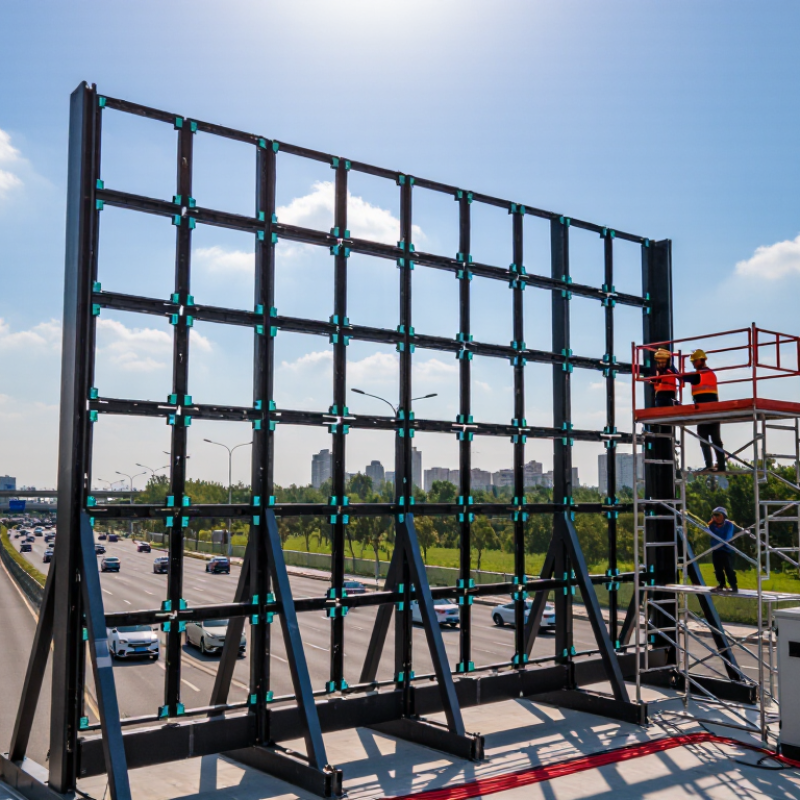
Installation needs can change the specification. Note the wall or support structure, wind exposure, cable routes, drainage, and access for rear servicing before ordering. IEC 60529 defines IP65 as dust-tight and protected against water jets; it does not mean the unit can be submerged or ignored in every weather condition. Rain changes everything. AVIXA’s 2024 Industry Outlook and Trends Analysis forecast global professional audiovisual revenue to reach US$402 billion by 2028. That market forecast is not a screen-sizing guide, but it reinforces the value of planning maintenance and replacement access. One detail is easy to miss: a perfect daytime test may not reveal glare from nearby glass at sunset. A temporary viewing mock-up helps, though it cannot replace checking the installed structure and local exposure.
7 Tips for Choosing an Outdoor DIP LED Display
Evaluate pixel pitch, viewing angle, and installation needs before selecting a display.
Rule of thumb: a 1 mm pixel pitch corresponds to roughly 1 m of minimum viewing distance. Actual results vary with content, viewing angle, ambient light, and installation conditions. Check the manufacturer’s specifications and assess the site before choosing.
Review Supplier Quality, Warranty, and Long-Term Maintenance
Choosing an outdoor DIP LED display means checking more than pixel pitch. Ask suppliers for factory aging records, module-level test results, and temperature or moisture test conditions. A clean seam around each cabinet matters; so does consistent brightness across the screen. The U.S. Department of Energy’s LED lifetime guidance describes LM-80 testing over at least 6,000 hours for LED packages. That measures lumen maintenance, not the lifespan of a complete display. Cabinet seals, power supplies, and site heat can fail sooner.
Tips: Request a written warranty covering parts, labor, brightness decline, and dead-pixel limits. Confirm who pays for shipping and how quickly replacement modules arrive. Check whether the supplier stocks compatible spare modules and power supplies for your display’s service life. A long warranty sounds reassuring, but unclear exclusions can make it weak in practice. Ask for a sample maintenance schedule, too: cleaning frequency, inspection points, and safe access to rear panels.
Before signing, inspect a comparable installation or request close-up photos of its cabinet joints and cable routing. Note the site conditions—salt air, dust, direct sun, or frequent rain—and ask how they affect coverage. I would not treat a bright showroom demo as proof of outdoor durability. It is an easy detail to overlook. Keep test reports, warranty terms, and service contacts together for the maintenance team.