
Skip to content

7 Tips for Buying a Vacuum Air Flow Meter

Buying a Vacuum Air Flow Meter is not simply a matter of choosing the lowest price. The right instrument must match your vacuum range, gas type, flow rate, connection size, and control requirements. A meter that performs well on a clean laboratory bench may struggle beside an oil-sealed pump or a dusty production line.

John F. O’Hanlon, a respected vacuum-technology author, reminds engineers, “A vacuum system is only as good as its weakest component.” That warning applies directly to flow measurement. A small leak, an unsuitable seal, or poor calibration can make an expensive meter produce misleading results.

This guide presents seven practical tips for choosing a Vacuum Air Flow Meter with greater confidence. It considers accuracy, response time, pressure compatibility, materials, display functions, calibration records, and after-sales support. These details matter when readings control pump performance or protect a delicate process.

Check the real conditions.

For example, a meter rated for nitrogen may not measure helium accurately without correction. A compact fitting can also restrict flow more than expected. I have seen buyers focus on digital resolution while overlooking contamination, temperature changes, and installation direction. That mistake is easy to make.

No product fits every system. Even experienced technicians occasionally select equipment from incomplete data. The better approach is careful comparison, clear specifications, and practical testing before purchase. These seven tips will help you ask sharper questions and avoid costly assumptions.
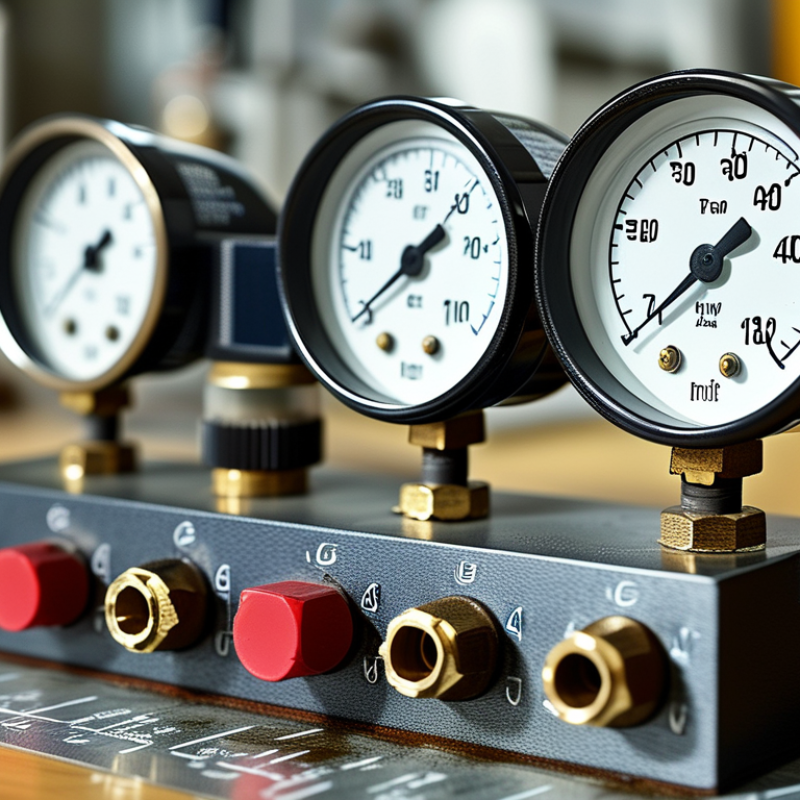
7 Tips for Buying a Vacuum Air Flow Meter

Understand What a Vacuum Air Flow Meter Measures

A vacuum air flow meter measures how much air moves through a system under reduced pressure. It does not simply measure “vacuum strength.” It usually detects pressure differences across an internal restriction, then converts that data into air flow. Depending on the instrument, results may appear as mass flow or volume flow. Check the unit carefully.

Before buying one, identify the expected flow range and vacuum level. A meter designed for gentle suction may become inaccurate near deeper vacuum conditions. Confirm whether it measures actual flow or standardized flow. Standardized readings use reference temperature and pressure, so two meters can display different numbers in the same test.

Accuracy also depends on installation. Turbulence from a short hose, sharp bend, or clogged filter can distort readings. Keep the inlet clean. Follow the required straight pipe length. Temperature and moisture matter too, especially in long operating cycles. A reliable device should provide calibration information, response time, and stated uncertainty.

Use the gas type specified by the manufacturer. Air is not always the only test medium. Some instruments need correction factors for different gases. A common mistake is trusting a precise display without checking the test setup. I have found that the plumbing often causes more trouble than the meter itself. Measure leaks separately when possible. Compare results with a verified reference instrument during commissioning, then record the conditions beside every reading.

Define the Required Vacuum Range and Airflow Capacity

Buying a vacuum air flow meter starts with two numbers: the required vacuum range and airflow capacity. Define the lowest pressure your system must reach, then identify its normal operating pressure. A meter rated only for deep vacuum may respond poorly near atmospheric pressure. Check whether readings use absolute pressure or gauge pressure. The difference matters.

Tip 1: Match the sensor range to real operating conditions, not an impressive maximum. For example, a chamber may operate between 20 and 80 kPa absolute, while a pump briefly reaches a lower pressure. Select a meter that measures the working zone accurately. Keep some margin, but avoid excessive range. Wider is not always better.

Airflow capacity needs equal attention. Measure expected flow at the actual vacuum level, because flow values can change with pressure, temperature, and gas type. A line moving 120 L/min in open air may carry far less under vacuum. Review the meter’s stated units, inlet size, response time, and allowable pressure drop. A restriction can distort the test.

Tip 2: Test the complete setup. Include tubing, filters, valves, and connectors. Small leaks can make a capable meter appear inaccurate. Tip 3: Ask for calibration information and uncertainty data. Traceable calibration improves confidence, but it does not replace installation checks. I have seen specifications look perfect until a narrow hose limited the flow. Recheck the sizing with measured data, not only supplier tables.

7 Tips for Buying a Vacuum Air Flow Meter - Define the Required Vacuum Range and Airflow Capacity
Tip Selection Dimension Practical Specification Guidance What to Check Before Buying Common Mistake to Avoid
1 Define the Required Vacuum Range Select a measurement range that covers the lowest expected absolute pressure and the highest operating pressure. Common reference ranges include 0 to 100 kPa absolute for low-vacuum applications and 0 to 10 kPa absolute for deeper-vacuum monitoring. Confirm whether the process specification is expressed as absolute pressure, gauge pressure, or vacuum level. Remember that atmospheric pressure is approximately 101.3 kPa absolute at sea level, although it varies with altitude and weather. Do not select a meter only because its maximum vacuum value is high. An excessively wide range can reduce useful resolution near the normal operating point.
2 Match the Airflow Capacity Specify the expected flow in a consistent unit such as L/min, m³/h, or SCFM. For example, a meter rated for 0.5 to 50 L/min is more suitable for a small pneumatic circuit than one designed for industrial flows above several hundred L/min. Compare the normal, minimum, and maximum flow—not only the pump or blower nameplate rating. Verify whether the published capacity is for actual flow or standardized flow. Do not compare volumetric flow values without checking the reference conditions. Actual flow and standard flow are different when pressure and temperature change.
3 Check Accuracy, Repeatability, and Resolution For general process monitoring, an accuracy specification around ±1% to ±2% of reading may be adequate. Testing, calibration, or tight control applications may require better performance and a clearly stated resolution. Determine whether accuracy is stated as a percentage of reading, percentage of full scale, or a combination of both. Check the operating temperature, pressure, and flow conditions used for the specification. Do not treat display resolution as measurement accuracy. Extra decimal places do not necessarily indicate better measurement quality.
4 Select the Correct Gas and Media Compatibility Confirm compatibility with the actual medium, such as dry air, nitrogen, oxygen, or another process gas. Gas density and viscosity affect the relationship between pressure, flow, and meter output. Review wetted-material compatibility, allowable particulate level, moisture tolerance, and whether the instrument requires gas-specific calibration or correction factors. Do not assume that a meter calibrated for air will provide the same accuracy with nitrogen, oxygen, or corrosive gases without an appropriate correction or calibration.
5 Verify Connection Size and Installation Requirements Common pneumatic connections include 1/8 in, 1/4 in, and 1/2 in ports, as well as metric threaded or tube fittings. The connection should suit the tubing, valves, and available installation space. Check port thread type, sealing method, flow direction, straight-pipe requirements, mounting position, pressure drop, and the need for filters or isolation valves. Do not install a meter with restrictive fittings or undersized tubing if the added pressure drop could change the vacuum or airflow being measured.
6 Consider Environmental and Electrical Ratings Review the operating temperature and humidity limits, enclosure rating, vibration tolerance, and electrical supply. Typical industrial instruments may use 24 V DC, while portable units may use batteries. Confirm the required output, such as display only, analog 4–20 mA, 0–10 V, pulse, relay, or digital communication. Check whether the installation area requires a specific ingress-protection or hazardous-location rating. Do not choose an electrical output that cannot be connected to the existing control system, data logger, or power supply.
7 Plan Calibration, Maintenance, and Data Recording Choose a meter with a documented calibration procedure and a calibration certificate when measurement traceability is required. A practical recalibration interval is often 12 months, but the actual interval should follow risk, usage, and quality requirements. Ask about zero adjustment, sensor replacement, cleaning, warm-up time, data logging, alarm functions, and the availability of calibration service. Establish acceptance limits before installation. Do not wait for unstable readings before checking leaks, clogged filters, sensor drift, condensation, or calibration status.

Choose the Appropriate Sensor Type and Measurement Method

7 Tips for Buying a Vacuum Air Flow Meter

Choose the Appropriate Sensor Type and Measurement Method

Selecting a vacuum air flow meter starts with the gas, pressure range, and expected flow pattern. A thermal mass sensor measures mass flow directly and suits clean, steady gases. A differential-pressure sensor uses a restriction, so it handles wider temperatures but adds pressure loss. For mixed gases or changing composition, its reading may drift. That detail is easy to miss.

Match the sensor construction to the process. Moisture, dust, and oil can contaminate small passages and distort readings. A corrosion-resistant wetted path matters when the gas is reactive. Check the lowest operating pressure, not only the pump’s advertised vacuum. At low pressure, some sensors lose sensitivity. Test it.

Choose the measurement method before comparing display features. Volumetric flow reports gas volume at actual line conditions. Mass flow reports quantity independently of pressure, but only after correct calibration. Standard or normalized flow requires defined reference temperature and pressure. Record those conditions beside every reading. I would install a calibrated reference meter temporarily and compare readings at several flow points. Include startup, steady operation, and pump-down. Pulsation can make an average look accurate while hiding sharp peaks. I have seen this happen. It changed the maintenance decision. Allow straight pipe length, leak-tight fittings, and a stable inlet. A perfect specification cannot rescue poor installation.

Check Accuracy, Compatibility, and Operating Conditions

7 Tips for Buying a Vacuum Air Flow Meter

Tip 1 Check accuracy across the full measuring range, not only at one convenient point. A meter may read correctly at medium flow but drift near the vacuum limit.

Tip 2 Review calibration records and stated uncertainty. Traceable calibration adds confidence, although it cannot replace proper installation.

Tip 3 Confirm compatibility with your gas, pressure range, fittings, and tube size. Some sensors respond differently when gas properties change. Measure twice.

Tip 4 Match the meter with your system’s operating conditions. Check temperature, humidity, vibration, and expected pressure fluctuations before purchasing.

Tip 5 Consider response time. A slow instrument can hide short pressure drops during pump startup.

Tip 6 Inspect the display and data output. Clear readings, suitable connectors, and stable communication simplify daily checks. I once underestimated cable length, creating unnecessary routing problems. That detail mattered more than expected.

Tip 7 Ask how the meter behaves during condensation, dust exposure, and repeated cycling. These conditions can affect accuracy and service life. Test the instrument with your actual setup when possible, using a calibrated reference meter. Do not trust a perfect laboratory specification blindly. Installation angle, leaks, and pulsating flow can change results. Record baseline readings after installation, then compare them during routine maintenance. A practical buying decision considers the measurement itself, the surrounding equipment, and the people who will use it.

Compare Calibration, Maintenance, and Total Purchase Costs

7 Tips for Buying a Vacuum Air Flow Meter

Compare Calibration, Maintenance, and Total Purchase Costs

Match the meter’s flow range to your equipment, not just its advertised maximum. A narrow operating range often delivers better readings. Check the stated accuracy at low pressure. That detail is easy to miss. Ask for calibration records with traceable standards. Confirm the uncertainty, test points, and calibration date. A low purchase price means little if verification is incomplete.

Review the sensor’s maintenance needs before ordering. Some sensors need frequent cleaning in dusty production areas. Others require protective filters or scheduled replacement. Ask how easily technicians can access the sensing chamber. Small parts can create large delays. Check whether the supplier provides service instructions and replacement components. I have seen maintenance costs rise because one inexpensive seal required a long lead time.

Calculate the total purchase cost over three years. Include calibration fees, spare filters, adapters, software, training, shipping, and possible downtime. Compare the meter’s initial price with its expected service intervals. A cheaper instrument may need calibration twice as often. Consider whether your team can perform basic checks in-house. Also examine warranty coverage and service response times. Keep a written cost estimate. It will expose assumptions that feel reasonable but remain untested. Finally, request a demonstration using your actual vacuum level and flow range. A showroom test can hide practical problems.

Vacuum Air Flow Meter Ownership Cost Comparison

Estimated costs in USD for three common meter categories. The three-year total includes the initial purchase, scheduled calibration, and routine maintenance.

When comparing meters, evaluate calibration frequency, service requirements, measurement accuracy, and the total cost of ownership rather than the purchase price alone.